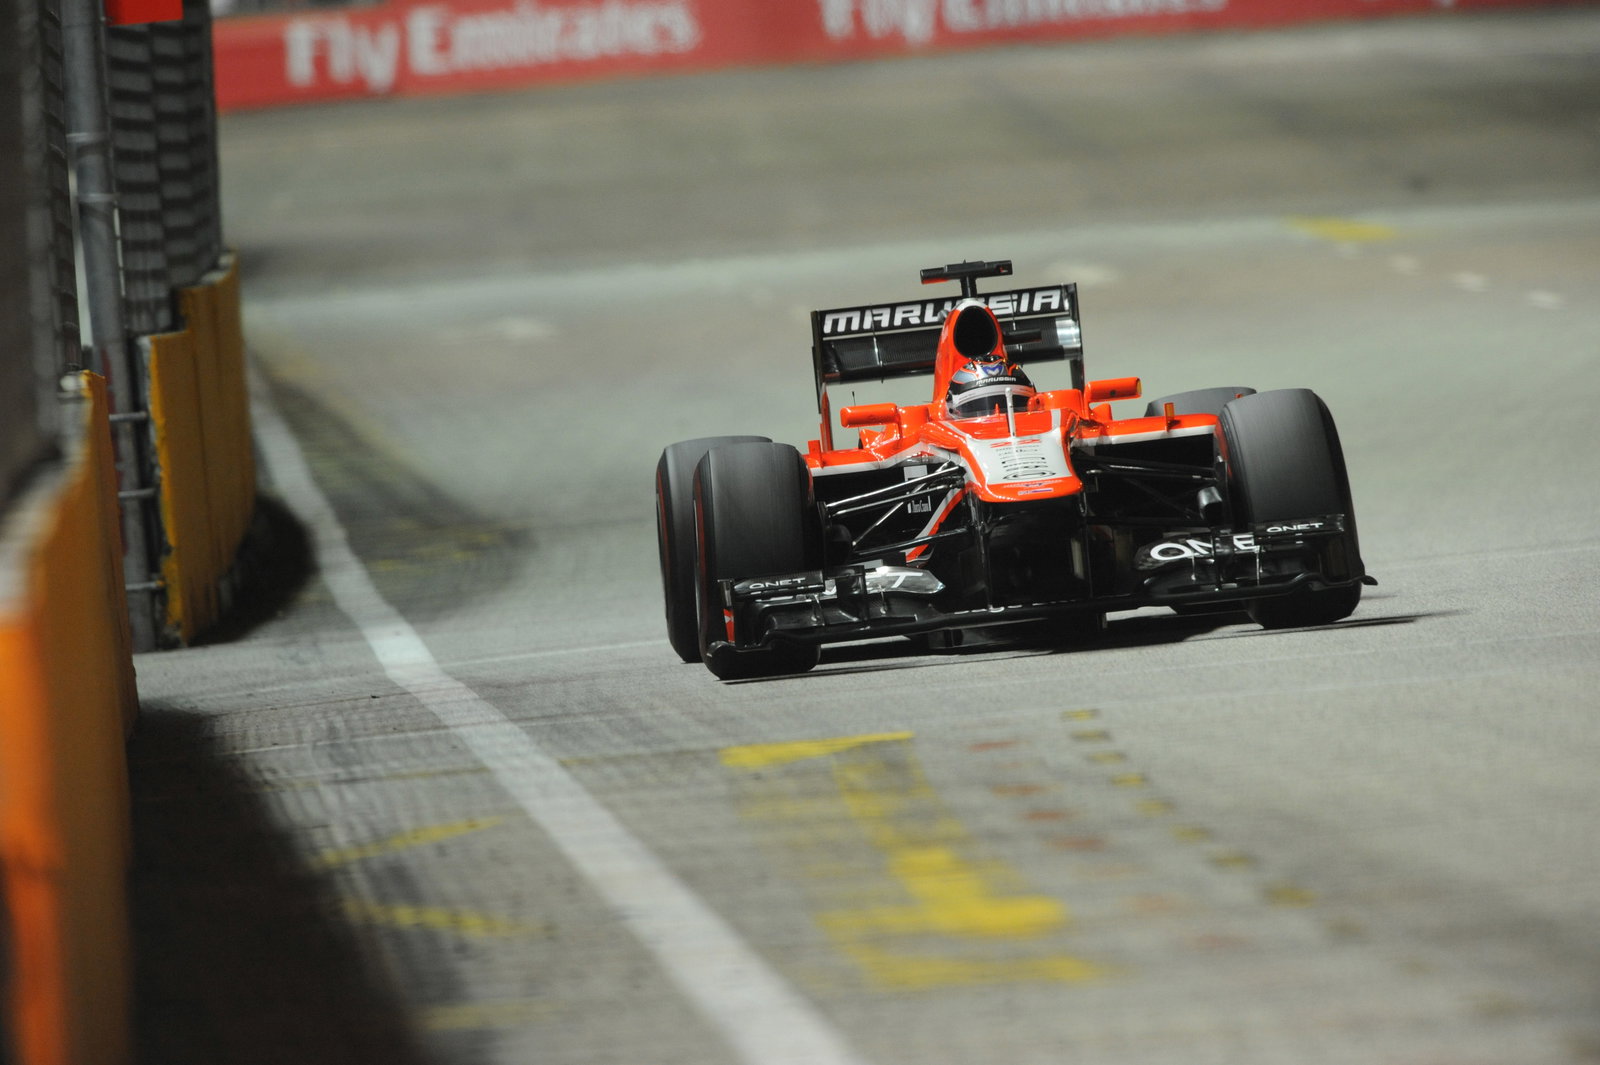
Korean Grand Prix: Engineer's guide to Korea International Circuit

The Circuit
Turn 1: High braking demands in the latter part of Turn 1 can potentially make life difficult for the drivers at the start of the race, when the cars are at their heaviest and tyres at their coolest.
Approaching Turn 3: Over 300kph is reached on the approach to Turn 3 before heavy braking into this tight right-hander. Higher speeds could be attained on this long straight, however wing levels required for the remainder of the lap mean that maximum velocity is constrained by drag and gearing.
Turns 4 - 6: More heavy braking demands here after a significant straight leading into the slowest section of the track, where good low speed change of direction and mechanical grip are required.
Turns 7 - 13: A sequence of long, sweeping corners requiring good downforce and balance from the car. Turn 8 is the fastest point - taken at almost 300kph - before heading to the slower Turns 9 / 10. Overall quite a satisfying section of race track for the drivers.
Turns 14 -18: Good change of direction is again required from the car through this sequence - which bears a striking resemblance to Valencia - with the walls being close enough to punish any mistake. Turn 17 is particularly important, with good exit speed required heading on to the start / finish straight.
Turn 17: A surprisingly high speed curve heading on to the first straight.
The Car
Front Wing: A reasonable amount of front wing is needed to balance the car through the medium and high speed corners; slightly more than at a lower speed circuit, but not as much as at Silverstone or Suzuka.
Rear Wing: Downforce levels here are similar to those of Suzuka and although Korea does have very long straight, the corners are sufficient to justify carrying a touch more wing rather than focusing purely on speed when pointing in one direction. It's closer to a Spa or Canada type of layout than a Monaco or Hungary set-up.
Suspension: A compromise must be found here between reasonably good change of direction at high speed - necessitating a stiffer setup - and the opposing demands of slower speed corners like Turns 1, 4, 6 which need a softer setup. One of the features of this track is that it is incredibly smooth and there are no significant kerbs. This means the car can run very low and close to the ground; especially as there are no notable bumps in the surface.
Brakes: This is not a circuit with extreme braking demands, however there are three significant areas of speed retardation - Turns 1 / 3 / 4 - which are all at the end of long straights.
Tyres: Pirelli's medium and supersoft compound are allocated; a change from last year's soft and supersoft allocation. The fast corners give Korea the highest lateral energy loading of any circuit where the supersoft tyre is used.
Engine: Korea sits in the middle of the power-driveability ratio, with engine demands similar to those of Australia. A mix of good driveability through the medium to low speed corners, responsiveness out of the slower chicanes / hairpins and good top end power for the three long straights is required. Good traction is essential for the lower speed corners such as Turns 1 / 4 / 6 meaning smooth power delivery from the engine is an advantage here. Fuel consumption is very high over one lap due to the stop-start nature of the final sector
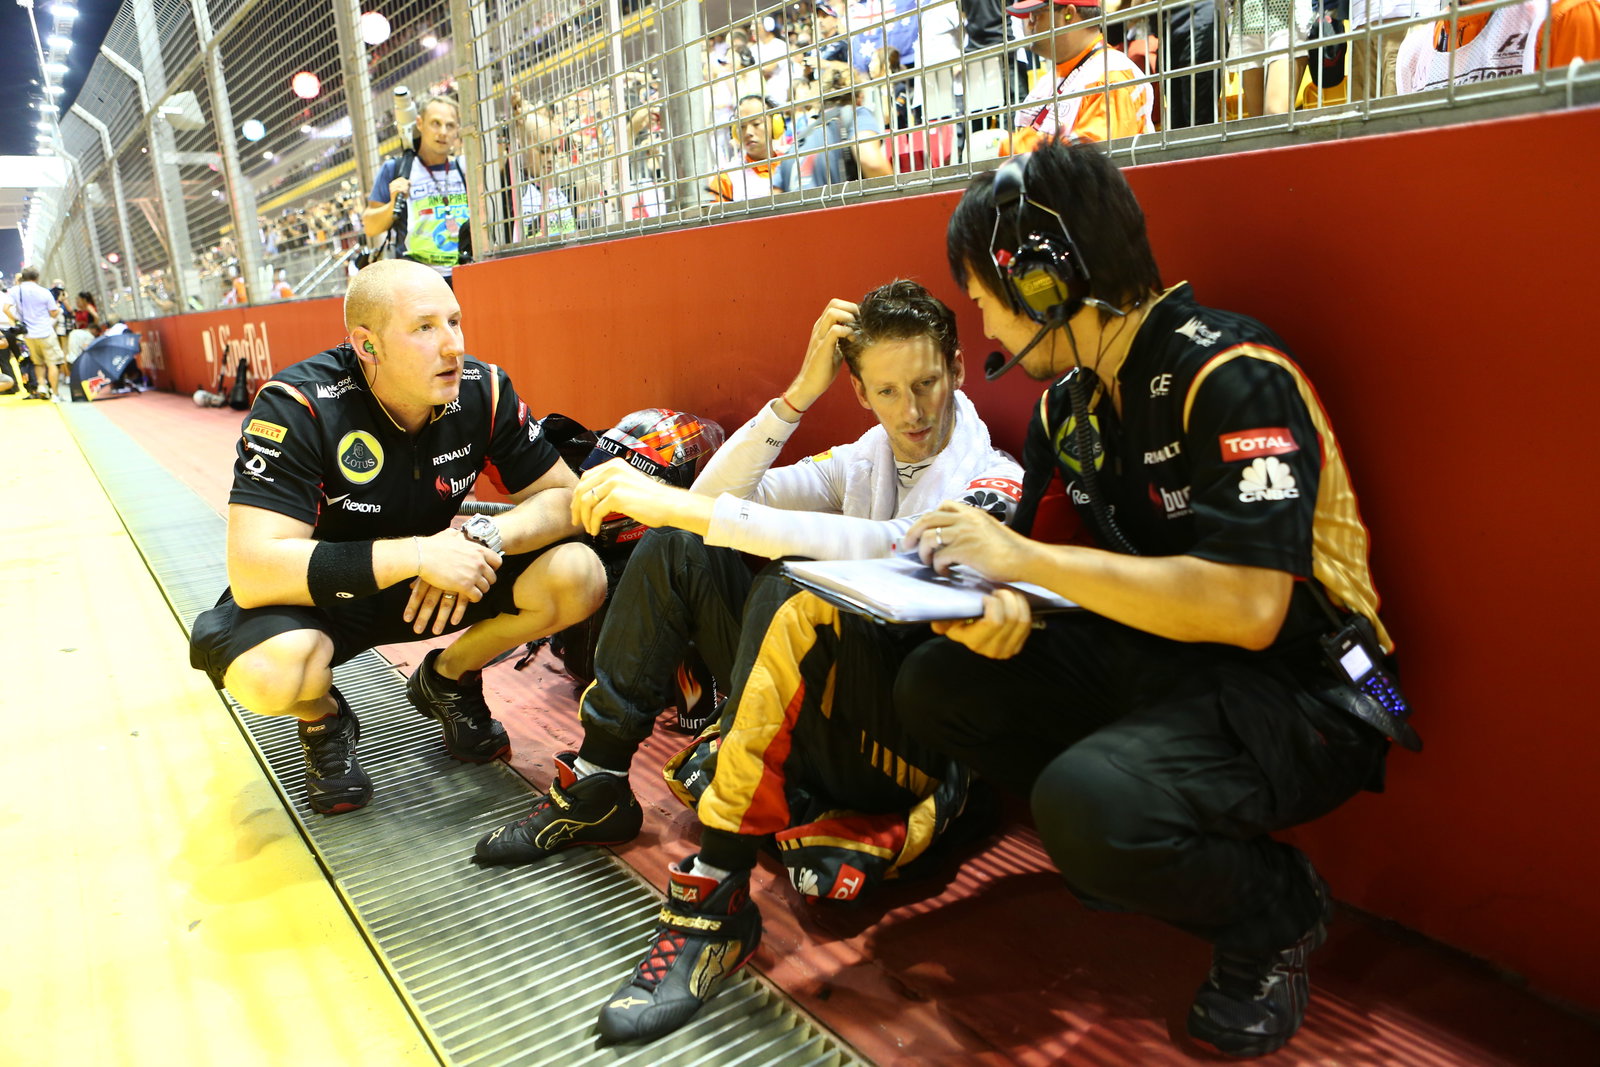
Guide provided by the Lotus F1 Team


